Tutorial: Setting up daily lottery deciding which customers get access to next day's event using Zapier and waiting lists (2 / 4)
Tutorial Table of Contents
part 1: Configuring the event resource in Planyopart 2: Configuring the daily scheduler in Zapier
part 3: Customers add their reservations to the waiting list
part 4: Daily lottery randomly selects sign-ups and upgrades them to valid reservations
Part 2 of 4: Configuring the daily scheduler in Zapier
Now, go to Zapier and create a new Zap.
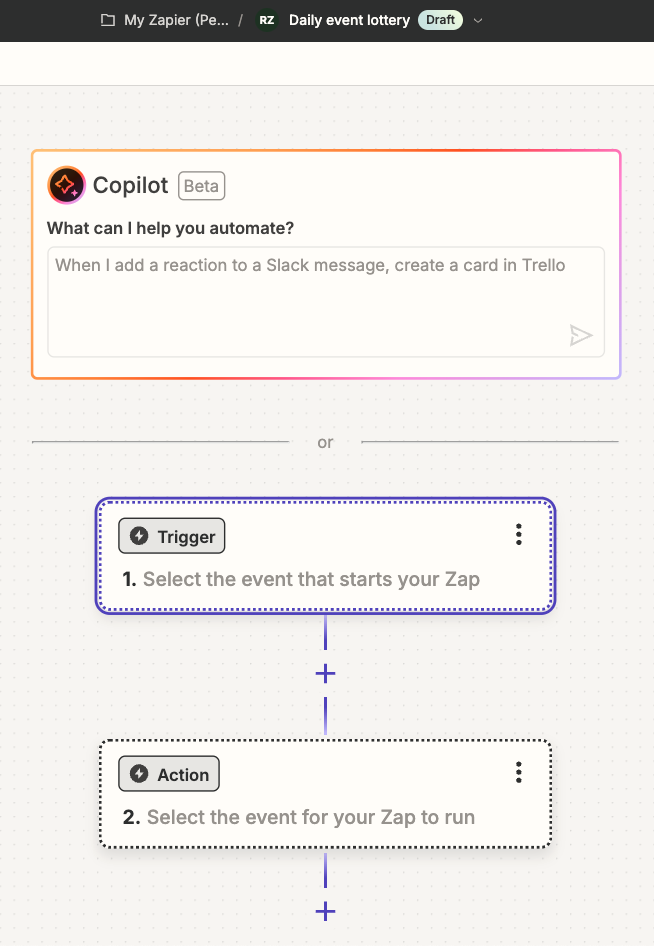 The configuration in Zapier involves setting a trigger in form of Schedule by Zapier app.
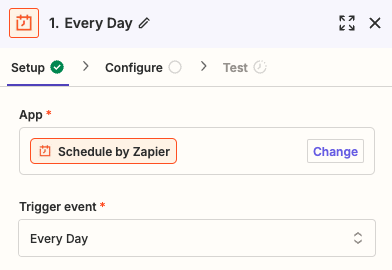 Set the trigger event to Every day and continue with the configuration.
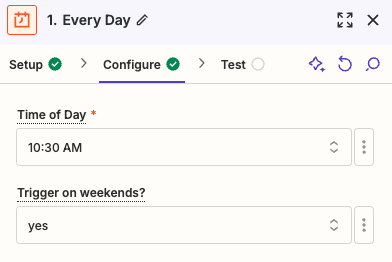
Next, set the time of the day when the lottery will take place and choose the weekend trigger.
Set the trigger event to Every day and continue with the configuration.
Next, set the time of the day when the lottery will take place and choose the weekend trigger.
 Next, click on the + Add step icon between the trigger and the action. We need to add a formatter in order to calculate the day for which the lottery will be selecting the reservations (always the next day in our tutorial).
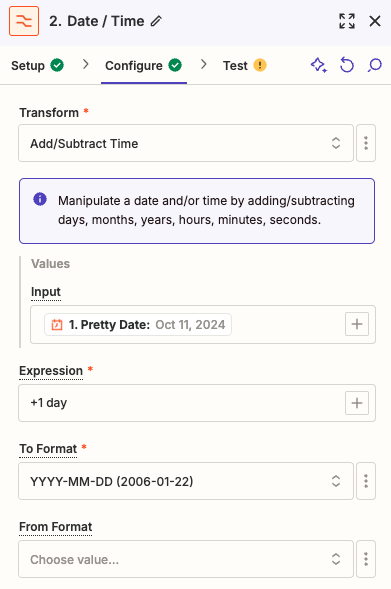
 Choose the app Formatter by Zapier and in the option Action event choose Date / Time.
 Continue to the configuration and in Input choose 1. Pretty Date which means that we select the current date from the scheduler app. Then set Expression to +1 day which means the formatter will simply convert today's date to tomorrow's date. Set the date format to YYYY-MM-DD (make sure you don't add the time of the day). You can leave From Format empty.
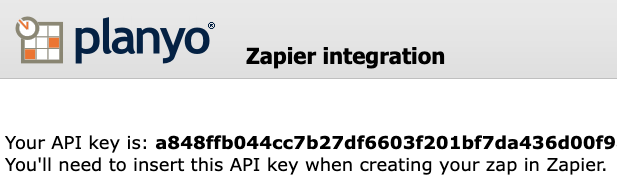
 Next, in another browser tab, go to the Zapier integration page in Planyo and add this integration to your Planyo site. On the integration's configuration page, copy the presented API key to the clipboard.
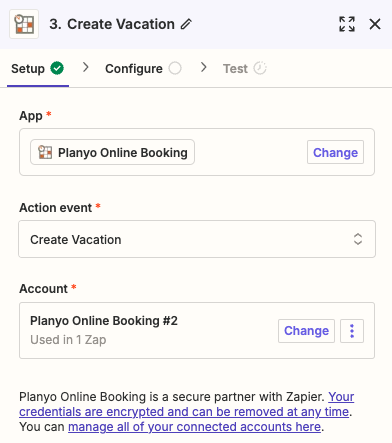
 Now, back in Zapier, add the Action app. Choose Planyo Online Booking as the app and Create Vacation as the action event. In Account you'll need to add a new Planyo account by pasting the API key from the clipboard.
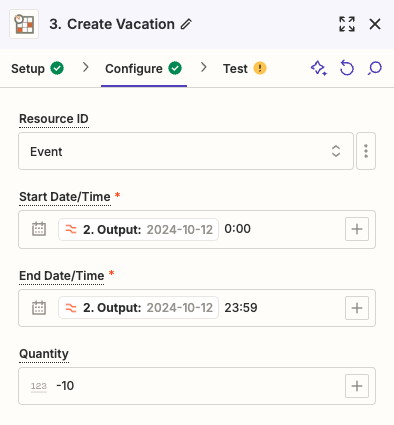
 Continue to configuration and set the Resource ID to the daily event. In Start date/time choose the output from the 2nd step (formatter). This output represent's tomorrow's date. After this field add a single space and 0:00 which means that we're changing availability starting on the following midnight. In End date/time once again choose 2. Output, then add a space and 23:59 which means that the availability change will concern the entire day (tomorrow) : 00:00 - 23:59 (midnight to midnight). In case of an hour-based resource you'd set the time to include the entire duration of the event (e.g. 8:00 - 11:00). The Quantity field should be set to -10 where the minus sign means that we are not adding a vacation but subtracting from the existing vacation (set previously for the next 10 years). In other words, we're forcing availability by adding negative vacations to all the units of the resource (10), so that after this daily Zapier action, we'll end up with all 10 units available on the following day.
 Now, click the Publish button in order to publish the Zap therefore making it active.
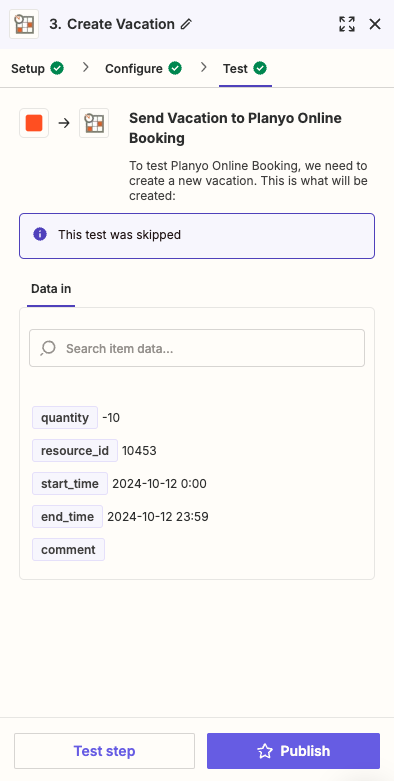
The configuration in Zapier involves setting a trigger in form of Schedule by Zapier app.
Set the trigger event to Every day and continue with the configuration.
Next, set the time of the day when the lottery will take place and choose the weekend trigger.
Next, click on the + Add step icon between the trigger and the action. We need to add a formatter in order to calculate the day for which the lottery will be selecting the reservations (always the next day in our tutorial).
Choose the app Formatter by Zapier and in the option Action event choose Date / Time.
Continue to the configuration and in Input choose 1. Pretty Date which means that we select the current date from the scheduler app. Then set Expression to +1 day which means the formatter will simply convert today's date to tomorrow's date. Set the date format to YYYY-MM-DD (make sure you don't add the time of the day). You can leave From Format empty.
Next, in another browser tab, go to the Zapier integration page in Planyo and add this integration to your Planyo site. On the integration's configuration page, copy the presented API key to the clipboard.
Now, back in Zapier, add the Action app. Choose Planyo Online Booking as the app and Create Vacation as the action event. In Account you'll need to add a new Planyo account by pasting the API key from the clipboard.
Continue to configuration and set the Resource ID to the daily event. In Start date/time choose the output from the 2nd step (formatter). This output represent's tomorrow's date. After this field add a single space and 0:00 which means that we're changing availability starting on the following midnight. In End date/time once again choose 2. Output, then add a space and 23:59 which means that the availability change will concern the entire day (tomorrow) : 00:00 - 23:59 (midnight to midnight). In case of an hour-based resource you'd set the time to include the entire duration of the event (e.g. 8:00 - 11:00). The Quantity field should be set to -10 where the minus sign means that we are not adding a vacation but subtracting from the existing vacation (set previously for the next 10 years). In other words, we're forcing availability by adding negative vacations to all the units of the resource (10), so that after this daily Zapier action, we'll end up with all 10 units available on the following day.
Now, click the Publish button in order to publish the Zap therefore making it active.