Insert the Planyo module into your Drupal website - display resource listing
The integration is done by inserting our dedicated Drupal module into a single webpage in your website. In this tutorial, the module will by default show the resource listing. The same module is also used to display all other steps of the booking process, and in the 2nd part of the tutorial we will add a search box widget -- the results of the search will be also displayed by this plugin.
 1
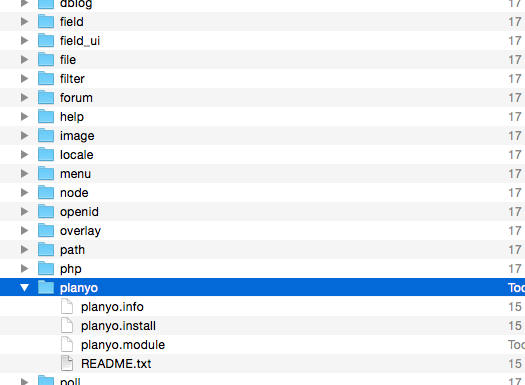
1 Download the Drupal module (for Drupal 8.x / 9.x / 10.x / 11.x). After downloading the module, unzip its contents into the modules/planyo directory inside the main Drupal directory (or sites/all/modules/planyo if you keep your modules there).
 2
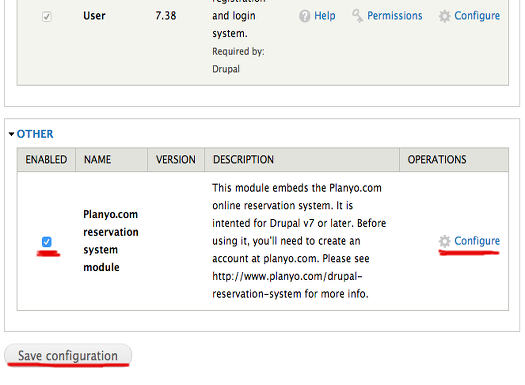
2 Go to Extend, then select the checkbox next to the Planyo module and click Install. Then extend the module description and click on Configure.
 3
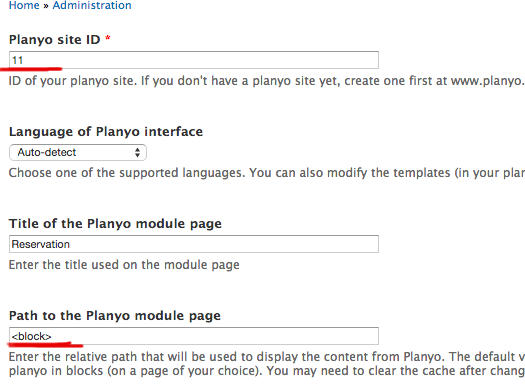
3 In the Planyo module settings, change Planyo site ID to your site's ID (the active site ID is 23967). The planyo module will now be accessible at /planyo or via blocks, as we do in this tutorial.
 4
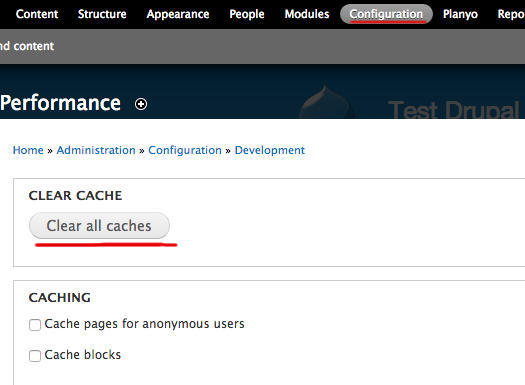
4 Click Save configuration to save your changes. Sometimes it may be necessary to clear the Drupal cache in order to proceed. In Configuration / Development / Performance click Clear all caches. Now let's proceed with the insertion of the planyo block.
 5
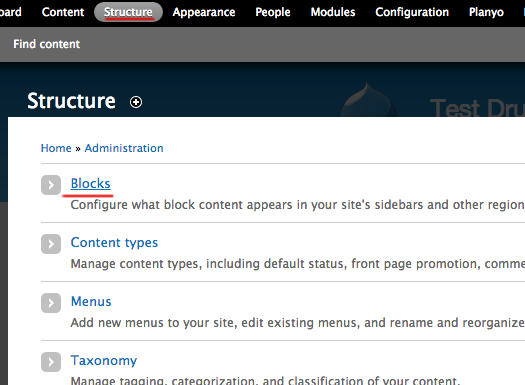
5 Choose Structure from the top navigation and go to Block Layout.
 5
5 Click on Place block in the Content section and choose the Reservation block by clicking on Place block next to it.
 5
5 To limit the block to a single page, in Pages select Show for the listed pages and enter the page path, such as /online-booking. You may also want to uncheck the Display title checkbox. Here we selected the page whose path is online-booking. Click on Save block to save the changes.
 6
6 OPTIONAL: If you want to embed the planyo module on many pages of your website (e.g. a search page, a page with a list of your resources, or on each resource details page) you can add multiple blocks and customize each one by specifying the Attribute string option in each block's configuration. Consult the FAQ question Q167 or go to our attribute string generator. Example: mode=reserve&resource_id=123 will display the reservation form for resource 123 (where 123 is a number representing a resource ID).
This is all you need to do in order to have the entire booking process integrated into your website. You can now customize the booking process by editing the templates (see tutorial) and notification emails (see tutorial) in the Planyo backend.
The default mode displayed by the plugin (in this example, resource list, but could be also search or upcoming availability) is set in the module settings (step 3). It can be also set in plugin's attribute string, by a widget connected to the module (such as a small search box, google map, calendar preview etc. -- see below) or directly by URL parameters.
Add a search box (widget) to your Drupal site
If you'd like, you can now add a search box widget to your website. Submitting the search box will display the search results on the page with the planyo module.
 1
1
Choose Integrate with my website from the blue menu on the left.
 2
2
Choose the widget Availability search box.
 3
3
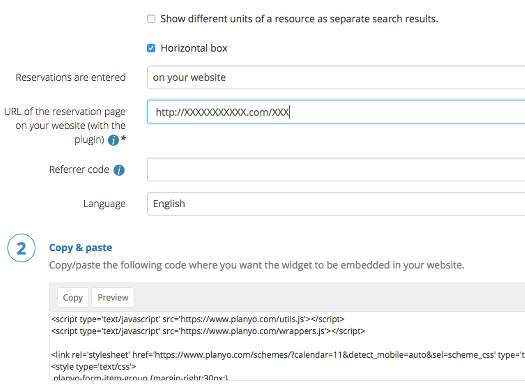
In URL of the reservation page on your website (with the plugin) enter the full URL of the page where you inserted the Planyo Plugin. Click on the button Copy in the Copy & Paste section to copy the code to the clipboard.
 4
4
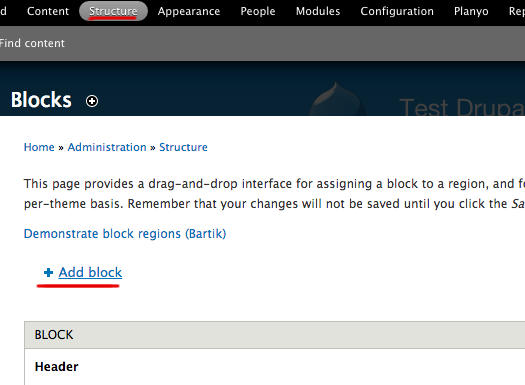
In your Drupal Administration, go once again to Structure / Block layout. Click on Place block in the desired area and then click Add custom block (or Add content block in Drupal 10+). We'll need this block to display the search box widget.
 5
5
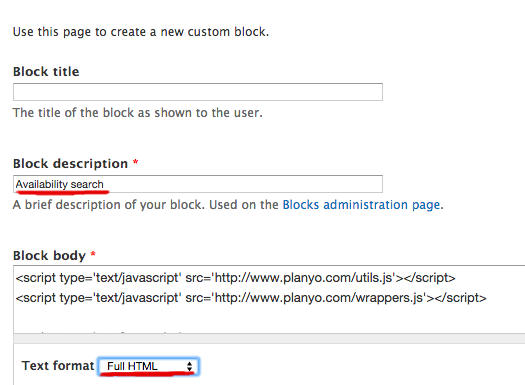
Set the Block description to something meaningful, and change Text format to Full HTML. Click on the Source icon in the body editor so the code you're pasting can be interpreted as HTML code. Then paste the code you have in the clipboard into the block's body and click on Save block to save the changes.
 6
6
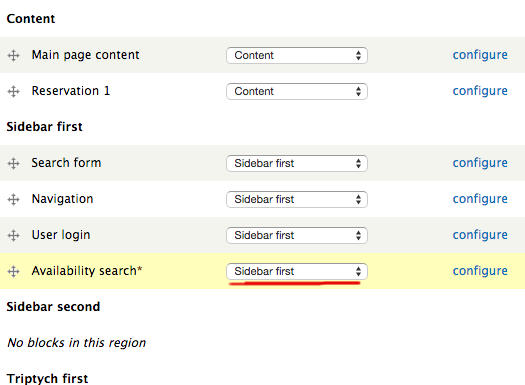
Now move the new block to the desired region, e.g. Sidebar first. If you'd rather display the search box only on a single page, change the visibility settings of the block, as was done with the Reservation block in the first part of this tutorial.
Learn more about Planyo's features and integrations!
