FREQUENTLY ASKED QUESTIONS
Planyo online reservation system - MODx component
The Planyo snippet
First download the MODx component (available here).
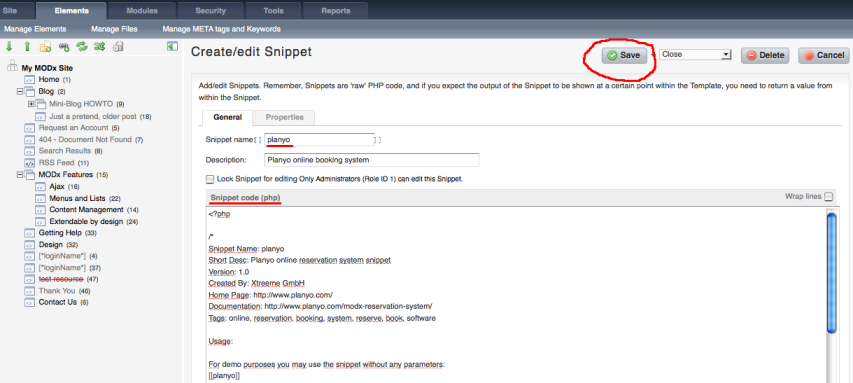
After downloading the component, unzip its contents into the assets/snippets/planyo directory inside the main MODx directory. Once in the MODx admin panel, go to Elements / Manage Elements / Snippets and click on New Snippet.


In Snippet name enter planyo and paste the contents of snippet.src.php into Snippet code. Click Save to save the new snippet.

The new snippet will appear in the list of installed snippets.


The new snippet will appear in the list of installed snippets.

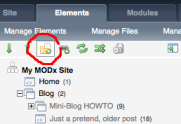
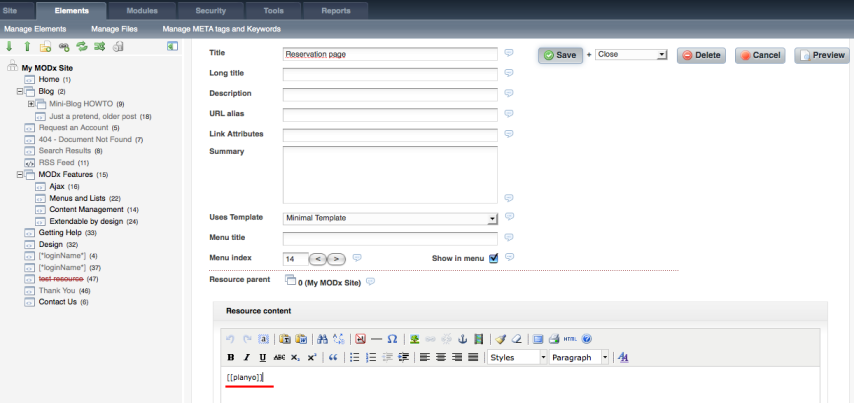
Now, you should choose the location for the Planyo form. Here we'll create a new web page. Of course you can use any existing location as well. In Elements / Manage Elements click on the New element icon.

Wherever you want the Planyo form to appear, embed the snippet with the tag [[!planyo? &site=`xyz`]] if running modx revolution or with the tag [!planyo? &site=`xyz`!] if running modx evolution where xyz is your Planyo site ID. If you don't have one, create a Planyo account first, or you can embed the snippet without any parameters for testing purposes: [[!planyo]] if running modx revolution or [!planyo!] if running modx evolution. Note: Use [[!planyo]] (modx revolution) or [!planyo!] (modx evolution) instead of [[planyo]] to disable caching. This is required when using the SEO-friendly mode (which is the default).


Wherever you want the Planyo form to appear, embed the snippet with the tag [[!planyo? &site=`xyz`]] if running modx revolution or with the tag [!planyo? &site=`xyz`!] if running modx evolution where xyz is your Planyo site ID. If you don't have one, create a Planyo account first, or you can embed the snippet without any parameters for testing purposes: [[!planyo]] if running modx revolution or [!planyo!] if running modx evolution. Note: Use [[!planyo]] (modx revolution) or [!planyo!] (modx evolution) instead of [[planyo]] to disable caching. This is required when using the SEO-friendly mode (which is the default).

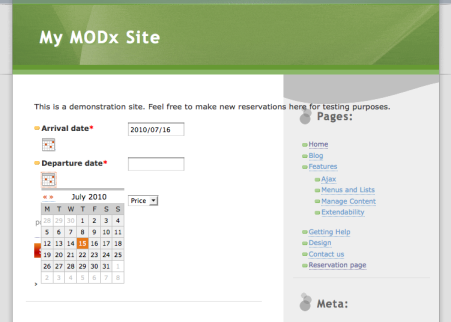
And that's it! Here's the result of the integration. Please note that you can update the file planyo-styles.css inside the Planyo plugin directory to adjust the look&feel of the plugin.
See readme.html for additional parameters that you can pass to the snippet for further customizations (e.g. to change the language). This FAQ question will offer further explanation of these parameters.

See readme.html for additional parameters that you can pass to the snippet for further customizations (e.g. to change the language). This FAQ question will offer further explanation of these parameters.

The Planyo module will by default display the content defined by the default module settings. Normally this will be the list of all available resources, upcoming resource availability, or the search box. Still, the same module will be used to display a number of other content types, for example the reservation form, email verification, reservation of additional products etc. The active mode can be controlled by module's attribute string, by a widget connected to the plugin (such as a small search box, google map, calendar preview etc.) or directly by URL parameters.

